Premise
I recently upgraded my smart home setup, combining Philips Hue light bulbs with some Aqara FP2 millimeter-wave presence sensors. These sensors not only provide presence detection without the use of cameras, but they also have a built-in light sensors. One FP2 sensor can cover a room of up to 40 m² (ca. 430 sq ft) and can be configured to create multiple zones, each capable of triggering distinct automations.
For instance, in my open-plan kitchen area, I’ve defined various zones such as the kitchen, piano area, dining table, desk, couch, etc.
Challenge
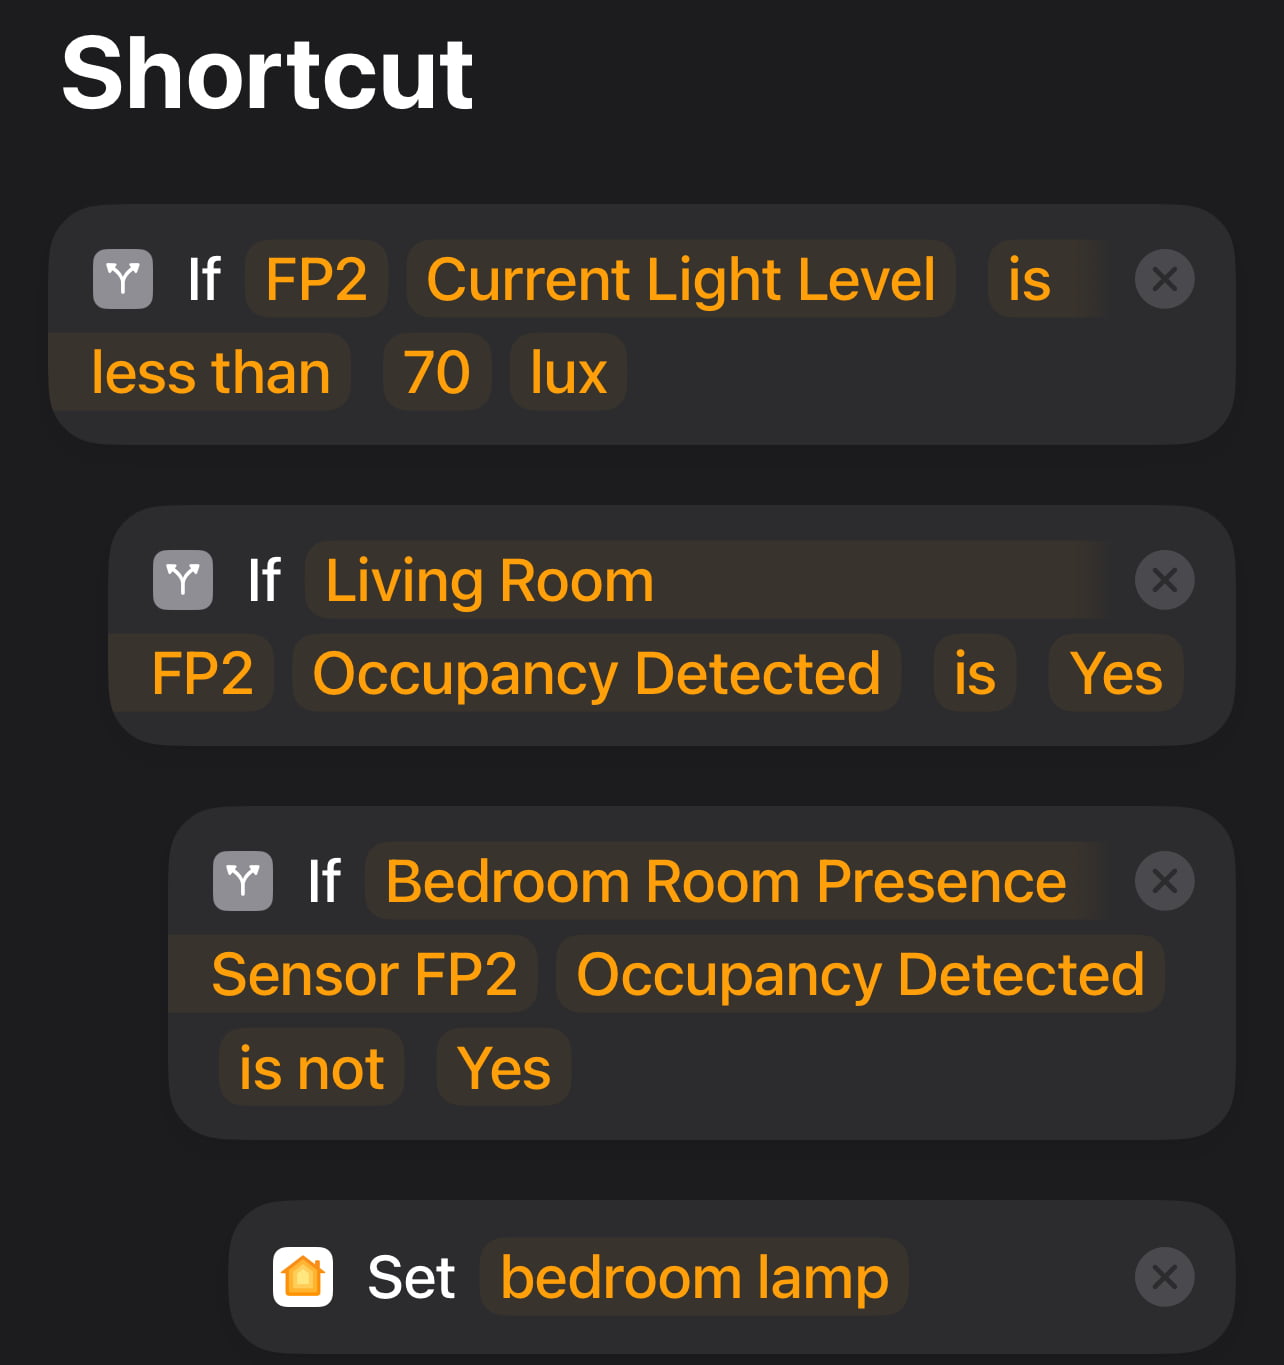
My specific challenge was to ensure that the lights at my desk turned on only when I was both at my desk and when the ambient light levels were below a certain threshold. Since I live in Sweden where daylight varies significantly, making it a time dependant Automation wouldn’t work. Thankfully Apple Home allows you to add If parameters.
Solution
- Open the Home app and select + on the top right corner. Then choose Add Automation from the top down menu
- Select the Event that will trigger the automation.
- Select the relevant Zone and click Next
- Select the relevant occupancy setting (whether you want the automation to be triggered when occupancy is detected or is stop being detected) and click Next.
- On the Select scenes and accessories to automate screen, scroll down and select Convert To Shortcut.
- Click on the Search for apps and actions field and type in If
- Tap on the If scripting
- Click on Input and select Select Accessory
- Select the light sensor and then Done
- Click on Condition and select the relevant one
- Add the relevant value on the value field. On my example I set “50” lux. Then click on Set Scenes and Accessories
- Select the relevant light and click Next
- Select the status of the light (On/Off) by clicking on it and then tap on Done.
- Slide the “Set” below the “If” tile and select Next.
- Select Done
By following these steps, you can ensure that your smart lights respond intelligently to both your presence and the ambient lighting conditions. For a visual guide with images, you can refer to the step-by-step instructions below


